Digital Prototyping for Design
No.1 // Basic E&C
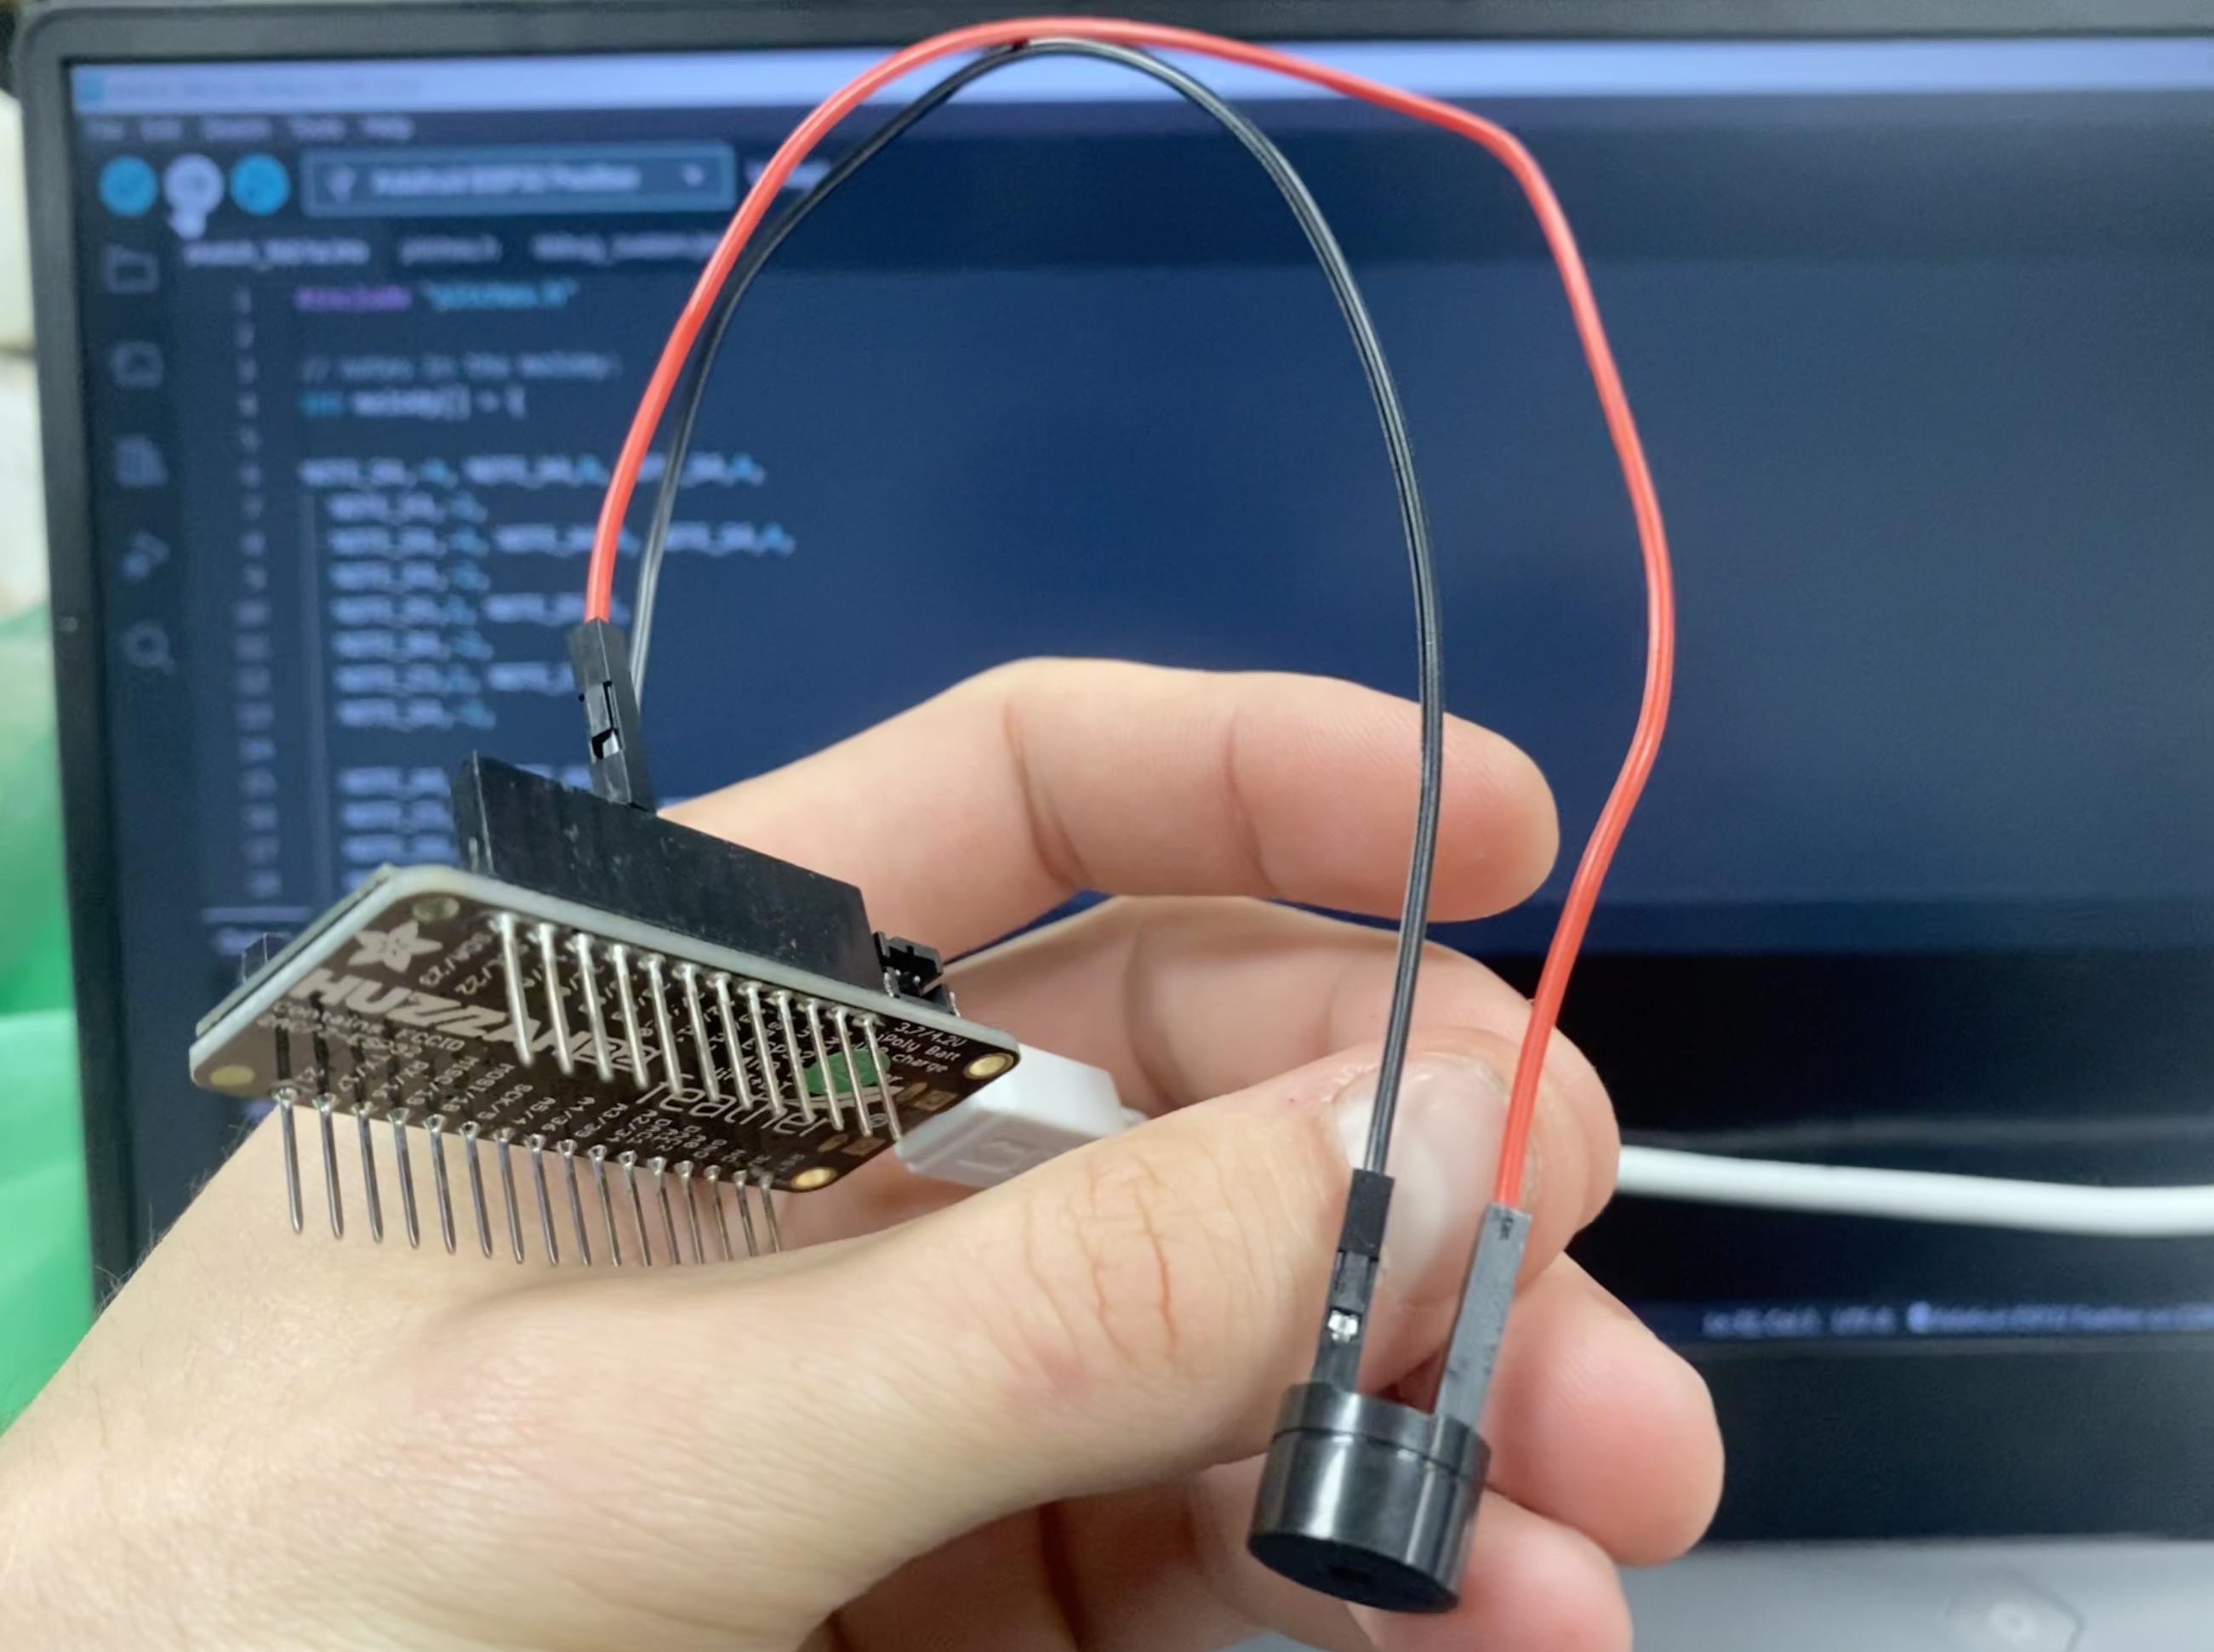
For this assignment, we learned how to activate a buzzer to produce sound. It was an interesting exercise to continue understanding the basics of electronics and coding using Arduino.
I worked on the board schematics, taking into consideration the different components and how they would work together to create sound. The simple setup incorporates a path to ground and another path for the output to pin 13 of the Adafruit Feather. I made use of different repositories online to find the right board pieces and code that would work for my project. As a result, the device managed to play the Star Wars theme. The repository I used for the StarWars buzzer tone is one by AbhishekGosh. (https://github.com/AbhishekGhosh/Arduino-Buzzer-Tone-Codes/blob/master/star-wars.ino).
It was a simple but surprisingly fun exercise in understanding how hardware and software can work together to create a functional device.

No.2 // Design Tools
For the next micro-challenge, we were tasked to parametrize a croissant and also to create a 3D design based on algorithmic thinking of any object or concept.
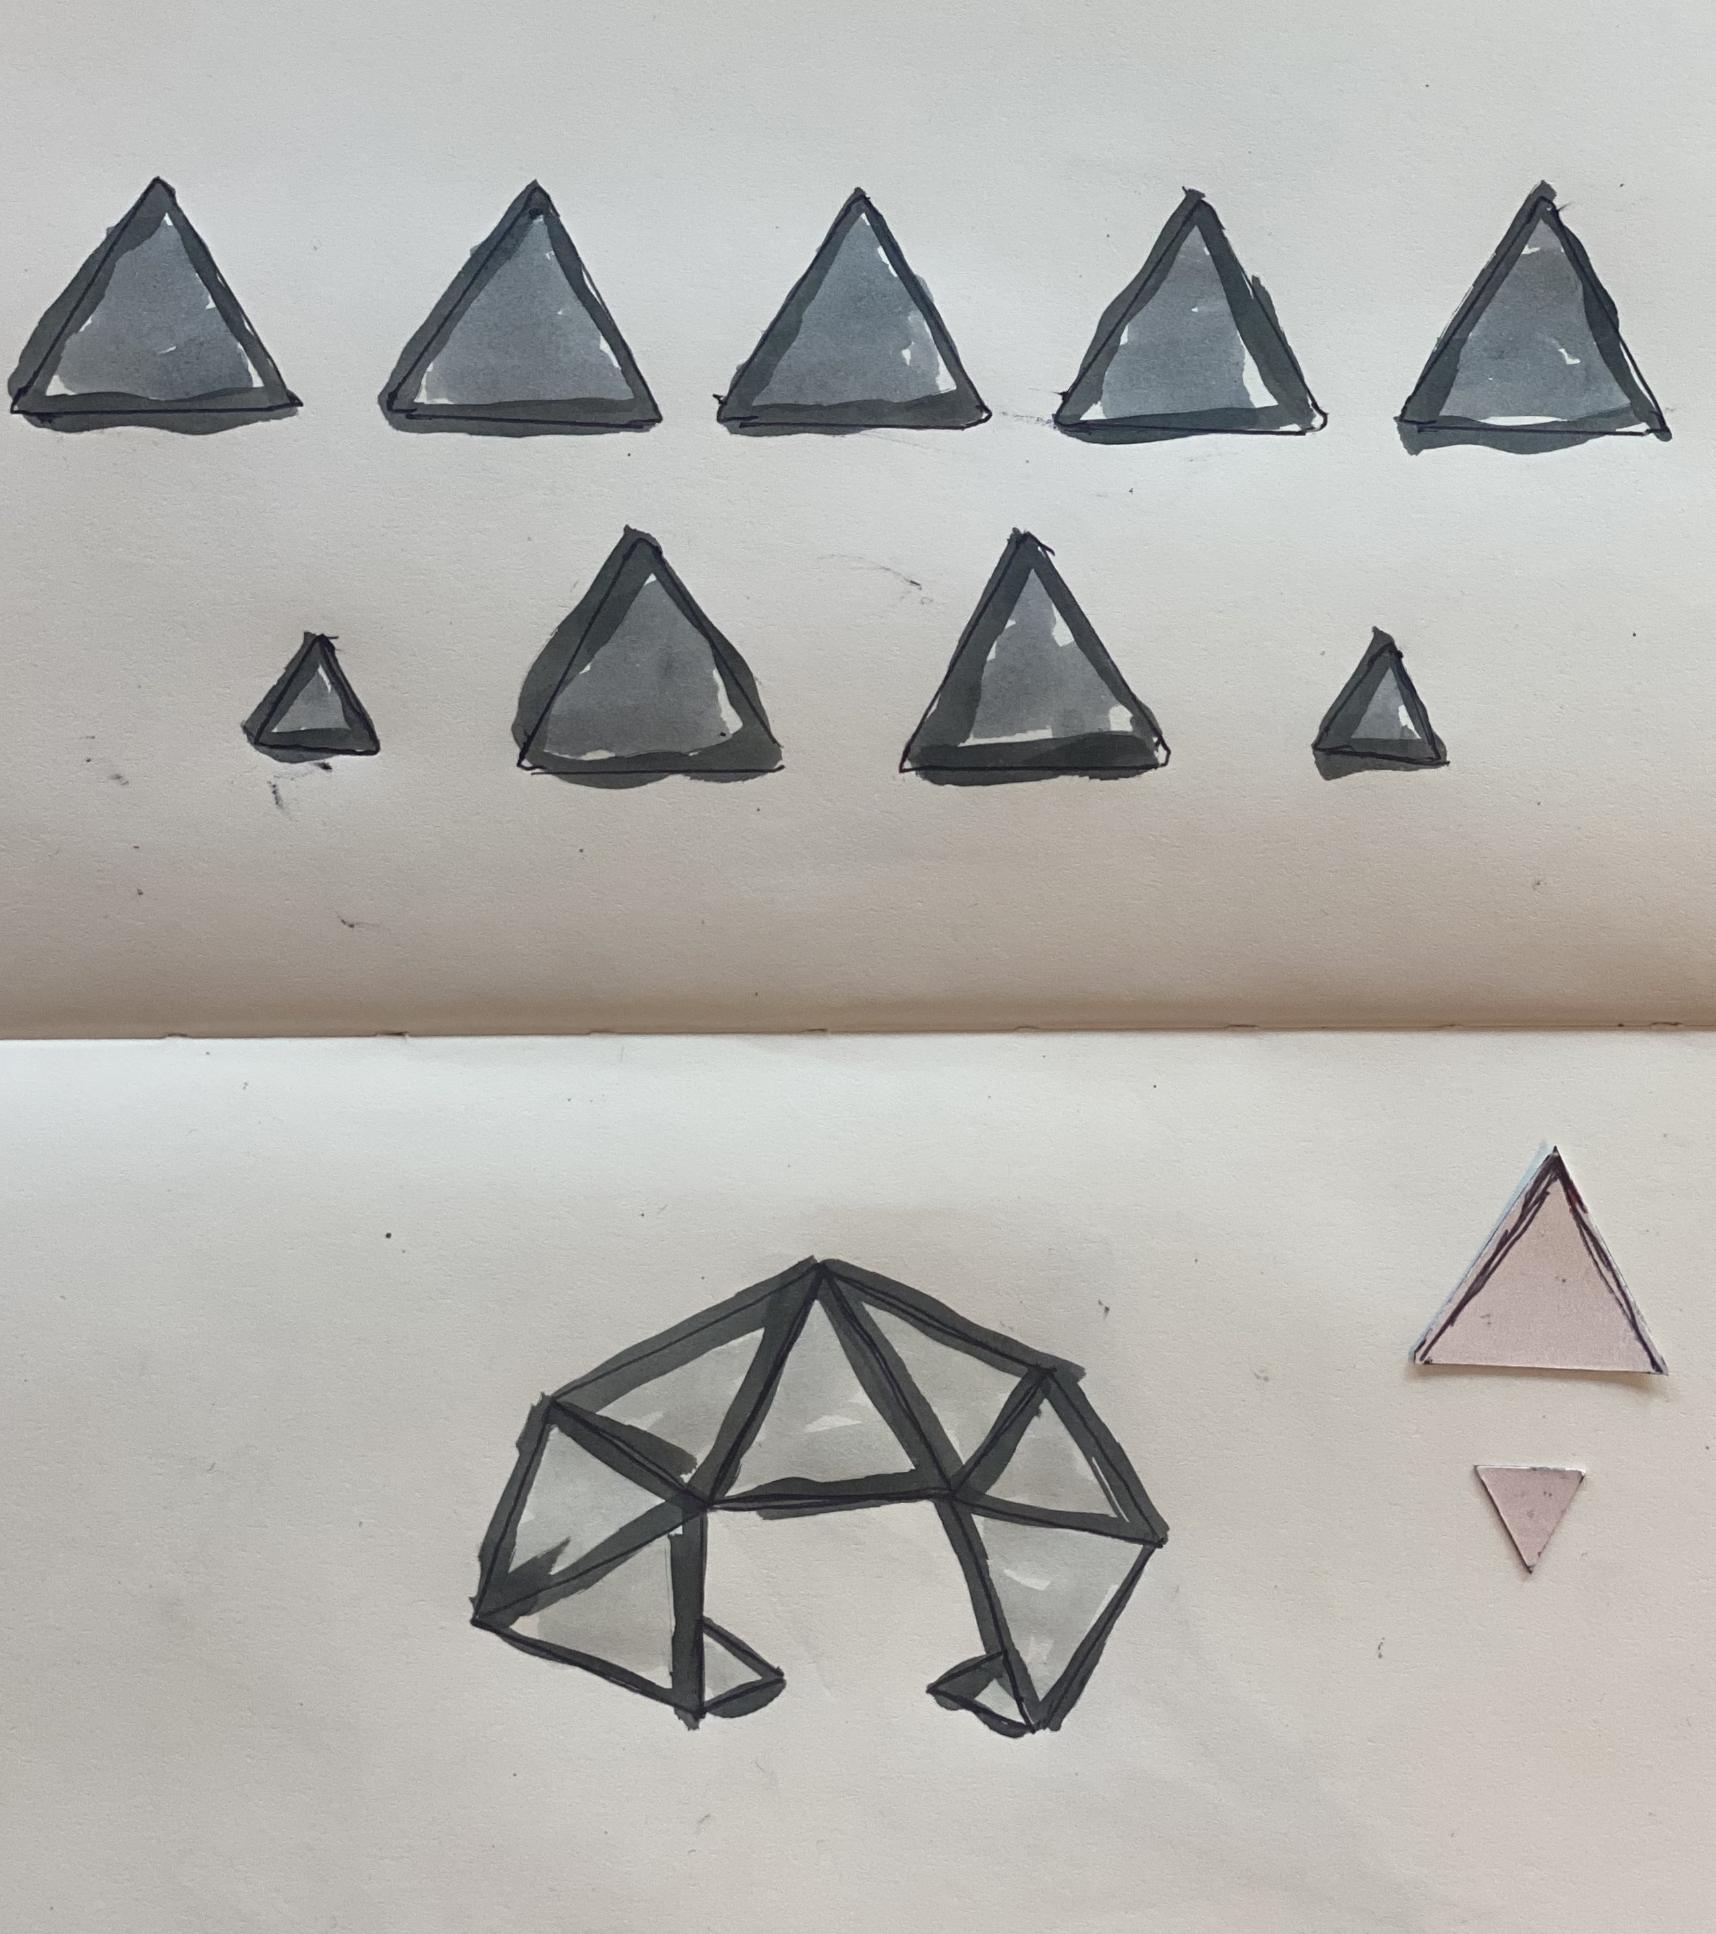
For the parametric croissant design, I decided to do a hand sketch. The sketch parametrizes 2 diferent triangle sizes and uses a total of 9 triangles that combine to give shape to the croissant from a top view. Here is the result:

Next, for the 3D design based on algorithmic thinking of any concept, I decided to design a parametric bench. Although we received a great and insightful presentation about digital tools and programs for 2D, 3D, parametric and generative design, I would have liked to receive more classes, instructions, guidance or support to actually use these tools. Unlike some of my other classmates in MDEF, I have no previous experience on using these tools and had to start with the basics. I followed the instructions of a Youtube video (https://www.youtube.com/watch?v=2rKnybai4gs) on parametric modeling for a bench. It was an interesting exercise to learn about Rhino and the functions for Loft and Contoue, as well as some of the other basic functions of the tool. I enjoyed this exercise and learned to become more comfortable with Rhino. I imagine this bench to be composed of a number of wooden frames. Here is the result:
Parametric Bench by Antonio Heinemann
No.3 // 2D Fabrication
For this assignment, we were tasked to create a parametric model and print it using a laster cutter. Although I had some initial ideas to create a laser-cut chess board, I did not have enough time to do so and had to invest my resource in working towards completing the challenge no.1. Here, there were two concepts that I fabricated. For the challenge, together with Dhriti, we created a sculpture that illustrates in a visually attractive format an important metric about how our bodies respond to different stimuli (more on this on the Challenges section of my site). For the sculputre, there were two important fabrications: (1) the wooden base to hold acrillic panes, and (2) a rastler engraving on the acrillic panes with a spiraled sphere design. We made the designs on Rhino. Here are the results:
2D Fabrication by Antonio Heinemann
No.4 // Inputs + Outputs
For the next micro-challenge, we were tasked to design a system of inputs and outputs using Arduino that uses an LDR sensor, a button, an LED to create a telegram. In this system, the button turns on an LED while pressed, and turns it off while unpressed. Then, the LDR sensor detects when there is light. Although the assignment suggestion was to work in pairs using two separate boards, for time efficiency reasons I decided to design the system using a single board and to complete the assignment by myself. Using the LDR readings, the system would identify if the light was on for a short period of time, or for an extended period of time. This would represent the equivalent of a dot (.) or dash (-) in morse code. Then, I programmed variables for each letter in Morse, and got the system to identify a few letters. I got stuck on the part where I had to concatenate the sensor data in order to actually identify all letters. I only managed the code to recognize letters E and T, which consist only of a dot (.) and a dash (-) respectively. Although I did not manage to successfully create the telegram, which was a rather complex exercise, the challenge was really exciting and I enjoyed working on this project a lot.
Morse Code by Antonio Heinemann by Antonio Heinemann
No.5 // Networking
For this challenge, we were tasked to connect our Feathers to wifi using a MQTT broker and NodeRed. I completely forgot to document this excercise in class, and due to the MQTT credentials and the broker that we used (SmartCitizen), I could not replicate the excercise on my own. I could only provide the code file and some screenshots of the Arduino IDE. Basically, we managed to setup a communication network where we could send and receive messages from one device to another using this system. It was a simple exercise but it turned out to be extremely valuable to be able to complete and give robustness to our second prototype of the HRV sculpture which connected over Wifi.
No.6 // 3D Printing
The next assignment involved building knowledge on 3D printing and scaning. We were tasked to 3D print an object, and then to scan the final product. One of my planters recently broke, and so I decided to create a new planter to provide a space for one of my plants to sustain life. This little fellow was actually starting to die where I was keeping it, and very much appreciated my creation. Since I have little experience and knowledge on 3D modeling, I decided to download a premaid design by Stammchiller through MultiMaker’s Thingverse (https://www.thingiverse.com/thing:4826953). I opened the file in Cura and made sure it would print accordingly. After printing and using it, I noticed that it could actually benefit from some improvements, such as an easier way to remove the top piece from the bottom piece, as well as a broader space between the bottom holder and the draining holder, since the holes are so close to the bottom holder, the draining feature is not really working at all. Still, the succulent that lives in this little planter can resist a bit more humidity and will not be affected if it is too wet. The printing process was exciting, this was the first time I have 3D printed something and I have loved doing so. I am excited to print more things and explore the potential behind this magnificent tool. For future iterations, I will definitely become more involved with the design process and use my new knolwedge on 3D modeling to create more efficient and functional products.
The scanning aspect to the assignment was really exciting as well. I am fascinated by the idea of translating physical objects into the digital space. The digital interaction of scans is fun and entertaining. I discovered Polycam, a 3D scanning application, and used it for the assignment and have also used it in other situations as well. I learned that you can use it to scan textures, as explored frequently by Marc. I learned that scanning small and detailed objects can be a challenge, and also the lighting, shadowing, and location of scanning has a lot of impact on the quality of the scan. I did not really achieve a high quality scan of the planter with the plant inside. I tried multiple iterations but perhaps I need better lighting and equipment for the scan. In the lab there is a device that rotates on a circle which allows us to capture the entire 360 degree view of objects, but not having such a device at home made it a challenge. These are the results:
3D Printing by Antonio Heinemann
3D Scanning by Antonio Heinemann
No.7 // Interfaces + Machines
For this micro-challenge, we were tasked to use our previous knowledge on networks and integrate new insights around interfaces to power an LED using the Breathe or Blink functionalities by selecting either through an interface.
Interfaces + Machines by Antonio Heinemann
Networks + Interfaces by Antonio Heinemann
No.8 // CNC
For the final micro-challenge, we were tasked to use the CNC milling machine to craete something of our choice. Although my original plans were to build and create a chair, I only managed to have enough time to make the desing sketches and begin with the 3D modeling of it. I am still on the process of this design, and will complete it in the following weeks. Stay posted for the results! Here are some pictures of the sketches for the chair. Yet, we did manage to use the CNC machine and worked with some designs with Dhriti for our second challenge. Different from our first prototype, which had a base made out of a bioplastic using coffee waste, we created a beatiful base for the acrillic panes using the CNC. The result was amazing and I am exciting to use the CNC machine again. Here are some pictures of the process and the result. Big credits to Dhriti on this part of the challenge as the design was on great part a production of hers.
